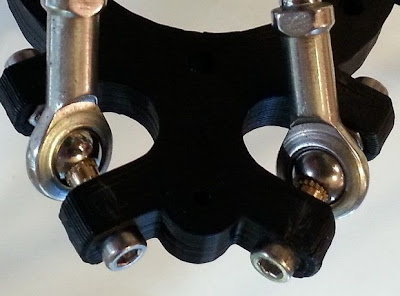
Setting up the firmware for this printer hasn't been much more difficult than the linear style RepRaps that I've built previously. It's simply been different.
The major difference has been overcoming the limitations of the computational speed of the Arduino hardware. Using the latest jcrocholl / Marlin firmware from GitHub, I found that the printer would stall for upwards of 5 sec. periodically throughout printing. This is because with a Delta system, there is more computation required to calculate each point in space. In order to ease the buffer load of the Arduino, I had to make some adjustments in the firmware, particularly of the Delta Segments and Acceleration values.
Under this line: Delta Printer
I changed: #define BAUDRATE 250000
To: #define BAUDRATE 115200
Under this line: #define DELTA
I changed: #define DELTA_SEGMENTS_PER_SECOND 200
To: #define DELTA_SEGMENTS_PER_SECOND 100
Under this line: //// MOVEMENT SETTINGS
I changed: #define DEFAULT_MAX_ACCELERATION {9000,9000,9000,9000}
To: #define DEFAULT_MAX_ACCELERATION {4000,4000,4000,9000}
After making these changes, the pauses ended and the printer has been successful in making prints runs up to 6 hours long.
Another change I made was with the mechanical function of the printer. I had originally installed some bargain bi-polar stepper motors that I got on eBay. These were not supplying enough torque. During long print runs, a stepper would skip and the print would be lost.
I changed to 3 bi-polar stepper motors that I purchased from www.pololu.com. They are NEMA 17-size and have a holding torque of 3.2 kg-cm (44 oz-in).
I also added heat sinks to the Pololu A4988 drivers and a cooling fan. Since this change, I haven't had any problems with missed steps.
Another change I made was with the hot end. I was wired up with the E3D-v5 hot end, but I haven't had much luck with it. I swapped it out with the hot end design from RepRap Pro. This hot end has become my favorite along with the Maker Gear hot end.

The filament feed works beautifully by using a spool box from what was www.thefutureis3d.com. The site is now linked to www.indimension3.com and I don't see the item available. I'm sure one can be made easily since it's basically a box and lazy susan device. What is nice about this particular spool box is how nicely it fits on top of the Rostock frame.

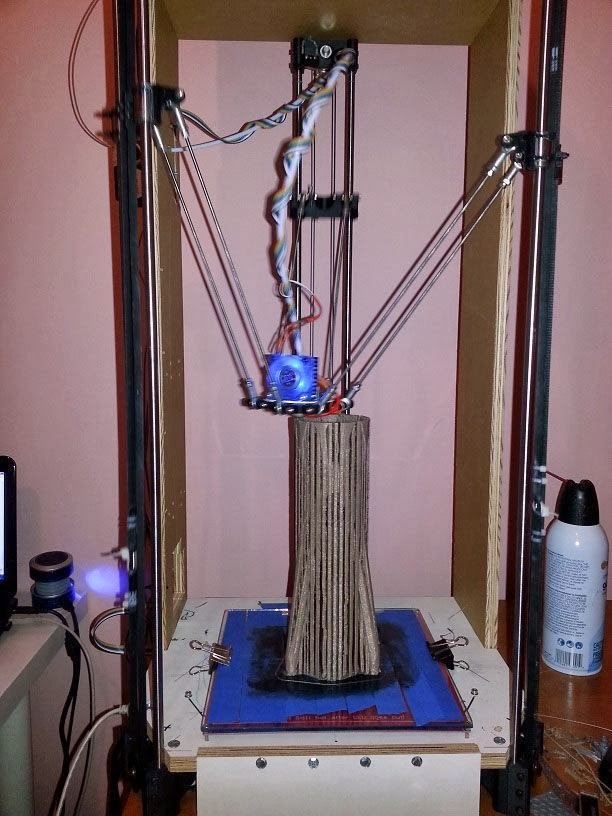
Printing has been of fairly good quality. I'm still working out some issues with cooling. Even with the orbit feature of Skeinforge, I'm getting too much distortion on the fine tips of pyramids and cones.


A cooling fan will help solve these issues, but I prefer to keep the mechanical parts to a minimum.
Overall, I consider this printer to be my second best for printing large pieces. The build envelope is roughly 180mmx180mmx350mm (7" x 7" x 13-3/4").


The major difference has been overcoming the limitations of the computational speed of the Arduino hardware. Using the latest jcrocholl / Marlin firmware from GitHub, I found that the printer would stall for upwards of 5 sec. periodically throughout printing. This is because with a Delta system, there is more computation required to calculate each point in space. In order to ease the buffer load of the Arduino, I had to make some adjustments in the firmware, particularly of the Delta Segments and Acceleration values.
Under this line: Delta Printer
I changed: #define BAUDRATE 250000
To: #define BAUDRATE 115200
Under this line: #define DELTA
I changed: #define DELTA_SEGMENTS_PER_SECOND 200
To: #define DELTA_SEGMENTS_PER_SECOND 100
Under this line: //// MOVEMENT SETTINGS
I changed: #define DEFAULT_MAX_ACCELERATION {9000,9000,9000,9000}
To: #define DEFAULT_MAX_ACCELERATION {4000,4000,4000,9000}
After making these changes, the pauses ended and the printer has been successful in making prints runs up to 6 hours long.
Another change I made was with the mechanical function of the printer. I had originally installed some bargain bi-polar stepper motors that I got on eBay. These were not supplying enough torque. During long print runs, a stepper would skip and the print would be lost.
I changed to 3 bi-polar stepper motors that I purchased from www.pololu.com. They are NEMA 17-size and have a holding torque of 3.2 kg-cm (44 oz-in).
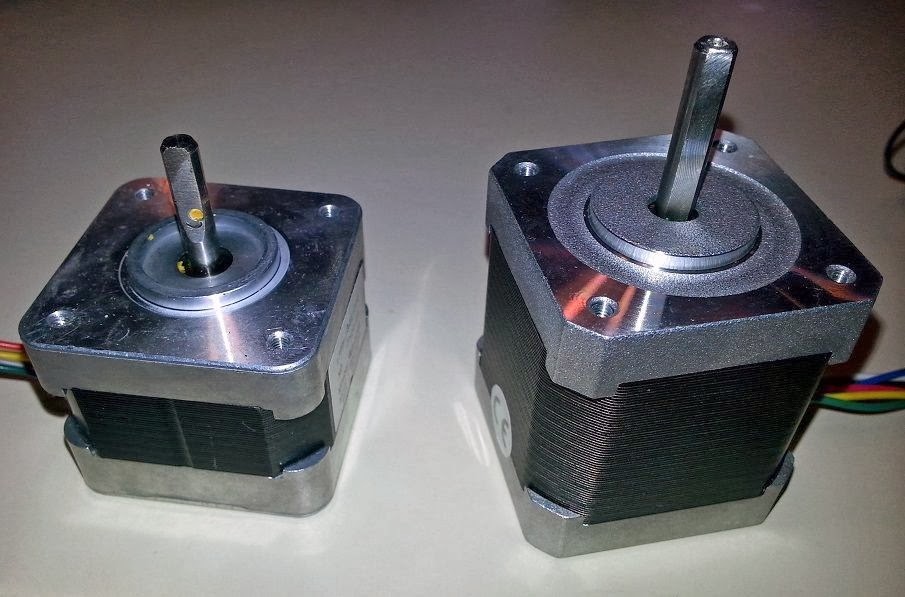 |
| Unknown size on left. On right is a 44oz-in NEMA 17 |
I also added heat sinks to the Pololu A4988 drivers and a cooling fan. Since this change, I haven't had any problems with missed steps.
The filament feed works beautifully by using a spool box from what was www.thefutureis3d.com. The site is now linked to www.indimension3.com and I don't see the item available. I'm sure one can be made easily since it's basically a box and lazy susan device. What is nice about this particular spool box is how nicely it fits on top of the Rostock frame.
Printing has been of fairly good quality. I'm still working out some issues with cooling. Even with the orbit feature of Skeinforge, I'm getting too much distortion on the fine tips of pyramids and cones.
A cooling fan will help solve these issues, but I prefer to keep the mechanical parts to a minimum.
Overall, I consider this printer to be my second best for printing large pieces. The build envelope is roughly 180mmx180mmx350mm (7" x 7" x 13-3/4").